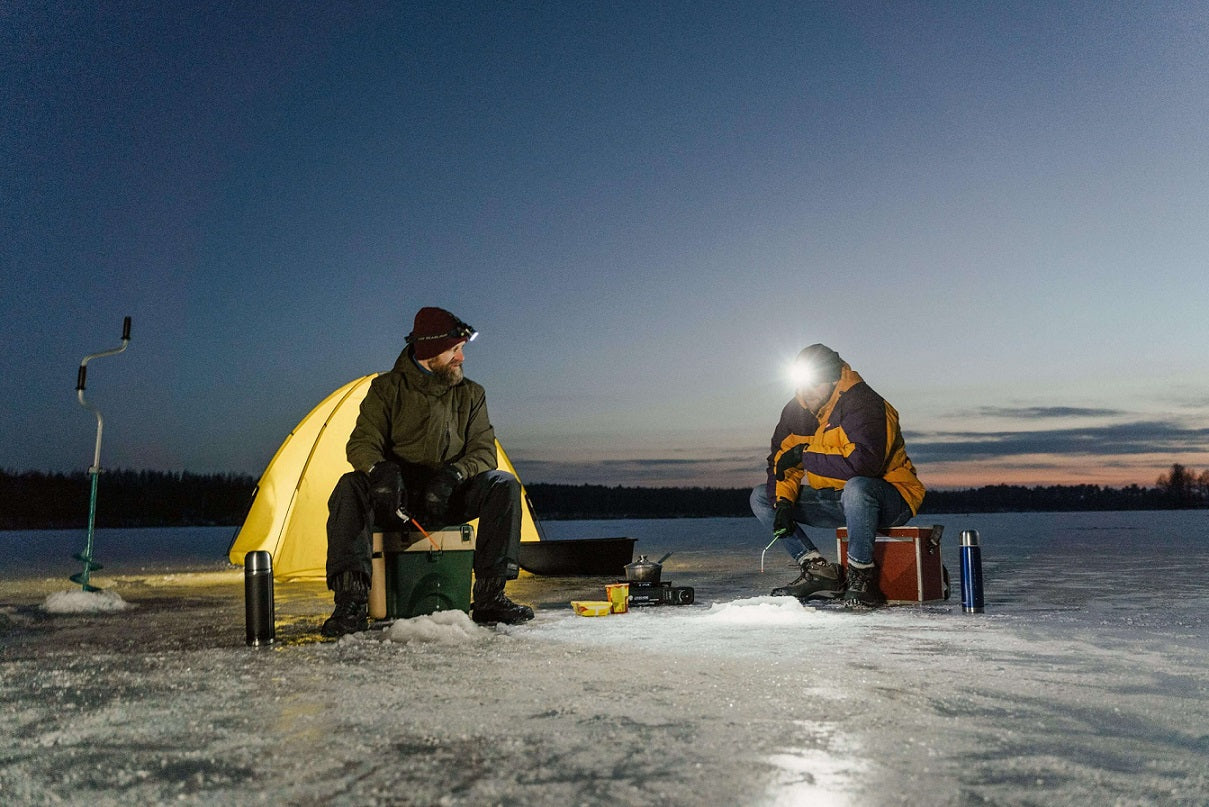


Learning how to make a camping fire can be a vital and life-saving skill for outdoor enthusiasts. Building a campfire keeps your camp warm, cooks meals, and creates a cosy atmosphere for relaxing, singing, and sharing stories. However, building a perfect campfire involves lighting wood and throwing it into a pit.
Below, we'll explore what you need to know about starting a campfire, including the materials required, detailed steps, tips for keeping it burning, safely extinguishing a fire, and even alternatives to campfires. We also recommend the Jackery Solar Generator for powering outdoor appliances with higher capacity and portability.
|
Key Takeaways: |
|
- To make a campfire, you need tinder, kindling and some dry, high-quality firewood. - If you have a fire pit, there are three steps to make a campfire: choosing a safe location, building the fire structure and lighting the campfire. - Make sure the campfire is away from flammable materials such as tents, trees, bushes, and hay and is always supervised. - When the flame is stable, add 1-2 thick pieces of firewood every 15-30 minutes to keep the fire burning continuously. After the campfire burns out naturally, extinguish the embers with water and cover the fire completely with dry sand or soil. - Depending on your needs, a portable camping stove, gas fire pit, bioethanol fire pot, or LED camping lamp can replace the campfire. - We recommend the Jackery Solar Generator 1000 v2 for powering camping appliances, including the electric portable grill. |
Materials Needed for a Campfire
In wilderness survival or outdoor camping, making a campfire is a practical skill for heating and cooking. Mastering the correct selection and use of tinder, fire starter, firewood, and fire source can allow you to ignite the fire of hope in any environment quickly. Here are some materials needed for making a campfire:
Tinder
Tinder is a material used to start a fire quickly. It needs to be fluffy, flammable, and flame-resistant. After collecting the tinder must be thoroughly dried and stored in a sealed container, such as a metal can or waterproof bag. If it is placed in a humid environment, it will become ineffective due to moisture.
Common types of Tinder include:
Wood chips
Pine needles or pine cones
Dry leaves or grass
Birch bark
Dryer lint
Cardboard strips
Firewood
Dry, high-quality firewood can keep a campfire burning for a long time. If you must rely on a campfire for a long time, choose a hardwood such as oak.
Common types of firewood include:
Oak
Maple
Birch
Ash
Cherry or black cherry
Flame Sources
Few people use traditional fire-making techniques such as flint strikes or bow drills. Therefore, consider using modern tools.
Common types of flame sources include:
Flint
Matches
Lighters
Magnesium strips and scrapers
How to Make a Camping Fire: A Step-by-Step Guide
Building a campfire is a practical outdoor survival skill for camping, heating, and cooking. In addition to being a survival skill, building a fire in the wild is key to preventing danger. Here is a well-structured, safety-focused step-by-step guide to building a campfire suitable for outdoor survival scenarios:

Step 1: Choose a Safe Place
Confirm whether fires are allowed in your area. Prohibitions may exist in campgrounds, forest reserves, or areas where archaeology is required.
If fires are allowed, you must choose an open, flat area at least 3 meters away from flammable materials (trees, grass, dry leaves, etc.). Avoid building fires in rock cracks or low-lying areas to prevent sparks from flying or water accumulating and causing accidents. If you are in a forested area, look for natural fire barriers (such as open spaces or river banks) or choose an existing fire circle area to build a fire.
Step 2: Prepare a Fire Pit (if necessary)
It would be convenient if the campsite had an existing fire pit. If there is no ready-made fire pit, you can also try to build one yourself. You must clear an area with a diameter of about 3 meters first. Then, dig a shallow fire pit 0.61 meters wide and 15-30 cm deep in the centre of the area. Be sure to clear the surrounding ground of flammable materials such as hay, leaves, and branches. Then, surround the area with a circle of stones, avoiding porous or wet stones that may burst.
Step 3: Build the Fire Structure
Different types and styles of fire structures will produce different results, including heat output, cooking potential, and burning time. Therefore, choose the proper campfire structure based on the purpose (heating, cooking, or lighting) and environmental conditions. Here are three classic ways to build a fire:
Tepee or Cone
A cone-shaped fire has a concentrated flame and burns quickly, making it suitable for quick heating or lighting. To build a cone-shaped fire, you need to tilt several thicker firewood into a cone shape with space in the middle. Put tinder and fire starter inside, and gradually add thicker firewood around the outside.
Log Cabin
A tepee-shaped fire burns steadily and lasts long, making it suitable for cooking or heating all night. Place two thicker logs in parallel as a base. Place two more logs vertically across the base to form a "well". Repeat this process 3-4 times, filling the middle with tinder and kindling. Finally, thin branches or dry leaves should be placed on the top layer, spreading the flame downwards when lit.
Star Fire
Star fires save fuel and can adjust the firepower, making them suitable for long, slow-burning or cooking. Stack the Tinder and kindling in the centre. Then, place 5-6 long logs in a star shape, with one end facing the centre and the other extending outward. After lighting the centre, move the logs toward the centre as needed to control the firepower.
Step 4: Light a Campfire
Usually, you can use a lighter, match, or flint to light the kindling and spread the fire to the wood. For example, you can light a match and use it to light the tinder, then throw the game on the fire and add more kindling to help the fire spread.
Gently blow or fan the base of the fire to add oxygen to help the fire burn, but avoid blowing too hard to disperse the flames. After the fire is stable, add firewood, then slowly add the primary fuel. Please note that you should avoid using dangerous methods like bullets to ignite gunpowder, which can easily cause uncontrollable fires.
Safety Tips for Building a Campfire
Safety is the primary concern when making a camping fire. Here are some key safety tips to help you avoid fires and accidents while enjoying the fun of a campfire:

Tip 1: Follow Local Regulations
Before building a fire, check for local fire bans or other restrictions. Do not build a fire if rules prohibit it in campgrounds, woodlands, or forest park light areas. Sometimes, digging pits and building fires may be banned for archaeological or other reasons. Also, remember not to make a fire in dangerous, dry wilderness environments.
Tip 2: Control the Fire
Keep the campfire small enough to avoid flames that are too high or too strong. In addition, add firewood gradually to avoid adding too much fuel at once, which may cause the fire to get out of control. Generally, ensure the fireworks are correct and provide warmth, light, or cooked food.
Tip 3: Avoid Unsupervised Campfires
The campfire must be supervised; even a short absence can cause accidents. In addition, make sure children and pets stay at least 1 meter (3 feet) away from it. Children and pets should be prohibited from running around the campfire, playing, or throwing flammable objects.
Tip 4: Stay Away from Flammable Materials
In addition to ensuring that the campfire is away from flammable materials such as tents, trees, bushes, and hay, you also need to pay attention to some additional items that may cause danger. Aerosol cans and pressurized containers may explode if they accidentally roll into the fire. Plastic items release highly toxic and carcinogenic gases when burned. Burning firewood will splash around and damage property or injure people, so be extra careful.
Tip 5: Emergency Preparation
When camping overnight, the campfire must be completely extinguished, and the surrounding flammable materials must be cleared. In addition, please carry a first aid kit (including burn cream, gauze, and disinfectant) to deal with sudden burns. Making an escape plan ensures that if the fire gets out of control, you can evacuate quickly and call emergency numbers.
How to Keep a Campfire from Going Out?
The key to preventing a bonfire from going out is maintaining the fire through proper fuel management, maintaining burning conditions, and taking protective measures. Here are specific ways to keep a bonfire burning:

Choose the Right Fuel
After lighting a bonfire, you need to use dry wood, branches, or charcoal to help the fire stabilize. Then, thick hardwood (such as oak and birch) can extend the burning time and provide lasting heat. Avoid adding wet or fresh wood to the bonfire, which will consume heat to evaporate moisture, causing the fire to weaken.
Continuously Add Fuel
Add new wood before the flame weakens to maintain the continuity of combustion. However, adding fuel to the bonfire must adhere to the gradual progress principle. When the flame is stable, add 1-2 thick pieces of firewood every 15-30 minutes to avoid adding too much at once and suddenly causing the temperature to drop. If you need a bright flame, add more thin pieces of firewood. In addition, dry the firewood to be added by leaning it against the fire before pushing it into the fire.
Keep Oxygen Flowing
Avoid stacking the wood too densely when building a bonfire, leaving gaps to ensure oxygen circulation. Over-piling can block airflow, so use a fire tong or a long stick to move the wood around to let the embers fall occasionally. You can also use rocks or windshields to block the wind but leave ventilation holes. If the fire gets smaller, gently fan it or blow it at the bottom of the pile with your mouth.
Keep the Fire for a Long Time
If you need to put out the fire temporarily, you can keep the fire and reignite it later. Burning ashes retain heat, so you can cover the burning coals with thick ashes to reduce oxygen exposure and delay extinguishing for several hours. When you need to reignite the fire, push away the surface ashes to reveal the unburned coals and reignite them.
How to Properly Put Out a Campfire?
In the countryside or when camping, bonfires can add a warm atmosphere to the outdoor experience, but it is essential to extinguish them correctly. Especially in areas such as forests and nature reserves, improper handling of embers may cause fires or violate the law. The following are scientific and safe fire-fighting steps and precautions:

Natural Burnout
A bonfire usually takes several hours to burn out naturally, so you must not add more fuel. After observing that the fire has weakened, stop adding fuel and let the fire burn naturally until only ashes remain. Although the ashes are still hot now, the open flames are gone.
Extinguish with Water
Although the open flame has been diluted, it is still necessary to slowly extinguish the embers with a large amount of water, gradually covering them from the edges inward. You can use a container such as a bucket to evenly sprinkle water on the fire to avoid steam burns caused by pouring too hard. Make sure all sparks, charcoal and the edges of the fire are soaked until there is no hissing sound. Then, a stick or shovel turns the charcoal fire to ensure the bottom embers are soaked.
Bury with Sand
After soaking the bottom embers of the bonfire with water, completely cover the fire with dry sand or soil at least 10 cm thick. Then, stir the sand and ashes to isolate oxygen and prevent re-ignition.
Check Repeatedly
After handling, please use the back of your hand to approach the ashes to confirm that there is no smoke or heat in the fire area. Please be careful not to touch the ashes directly with your hands. It is best to let the ashes cool to the touch. Strong winds may reignite sparks, so more stringent inspections are required.
Clean Up the Bonfire Area
Cleaning up the bonfire area is the last step before leaving. However, you need to wait until the fire is completely extinguished and cooled before starting to clean up. If convenient, you can put the cooled ashes into metal containers and take them away or scatter them in a safe area. Then, remove the stones, clean up the residue, and try to restore the site to its natural state. All garbage generated needs to be handled according to local regulations and should not be buried in the soil.
The Best Alternatives to Campfire
In outdoor camping, campfires are not only a tool for cooking and heating but also a symbol of a warm atmosphere. However, traditional campfires are often challenging due to environmental regulations, fire safety or site conditions. Therefore, you can consider the following alternatives to campfires:
Portable Camping Stoves
Portable camping stoves are usually powered by gas (propane/butane), have high combustion efficiency, and have controllable firepower. They allow you to cook delicious meals while camping without an open flame. They are usually equipped with a windshield or a voltage-stabilizing structure to cope with complex outdoor climates.
Gas Fire Pits
Gas fire pits provide a controllable flame that simulates the atmosphere of a real campfire but without the dangers of an open flame and the ashes and smoke produced by burning firewood. They can be used to create a camping atmosphere and for local heating in winter camping. However, if you want to use a gas fire pit at a campsite, please consult in advance to ensure it is allowed.
Bioethanol Fire Pits
Bioethanol burns without smoke and ash and does not require a chimney, making it ideal for environmentally friendly campers seeking a real-fire experience. It can also be used as a tabletop fire source for exquisite camping, such as making tea or mood lighting. Although simple to operate and easy to store, its flame temperature is low, it cannot be used for cooking, and frequent refuelling is required.
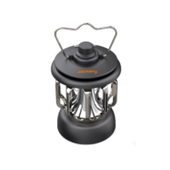
LED Camping Lights
If you plan to light a campfire to create a camping atmosphere, consider using an LED camping light array instead. During the fire ban period, you can hang some coloured lights around the campsite or some battery-powered LED lanterns to create a warm and pleasant atmosphere. However, they cannot provide physical heat and rely on electricity. You can power it with a solar generator (such as Jackery Solar Generator 1000 v2).

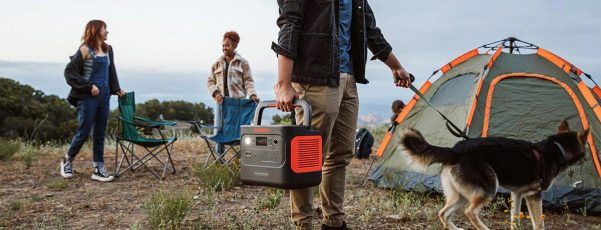
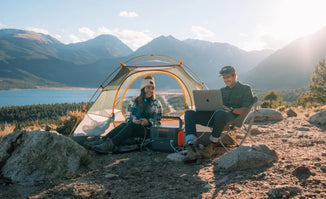
Jackery Solar Generator for Camping
Solar generators harness the sun's free and abundant energy, making your camping trip greener and reducing your carbon footprint. You won't need to rely on fossil fuels, which contribute to air and noise pollution.
Unlike traditional gasoline generators, which can disrupt the peaceful ambience of nature, Jackery solar generators operate silently, allowing you to immerse yourself fully in the sounds of the outdoors. You won't have to worry about harmful exhaust fumes, making them safe in tents or enclosed spaces (with proper ventilation for any appliances used).
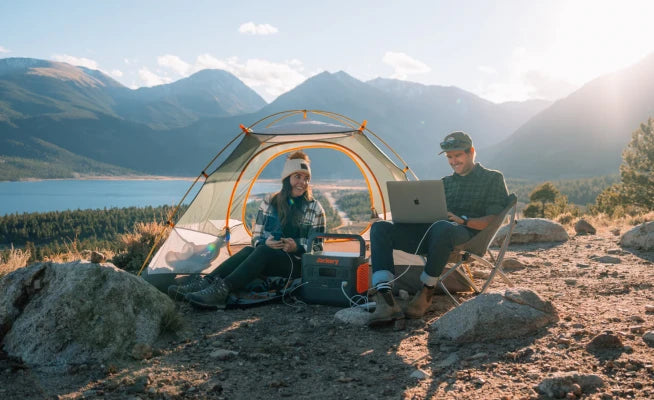
Depending on the Jackery Solar Generators, you can power lights, fans, portable refrigerators, CPAP machines, and even cooking appliances, enhancing your comfort and convenience at the campsite.
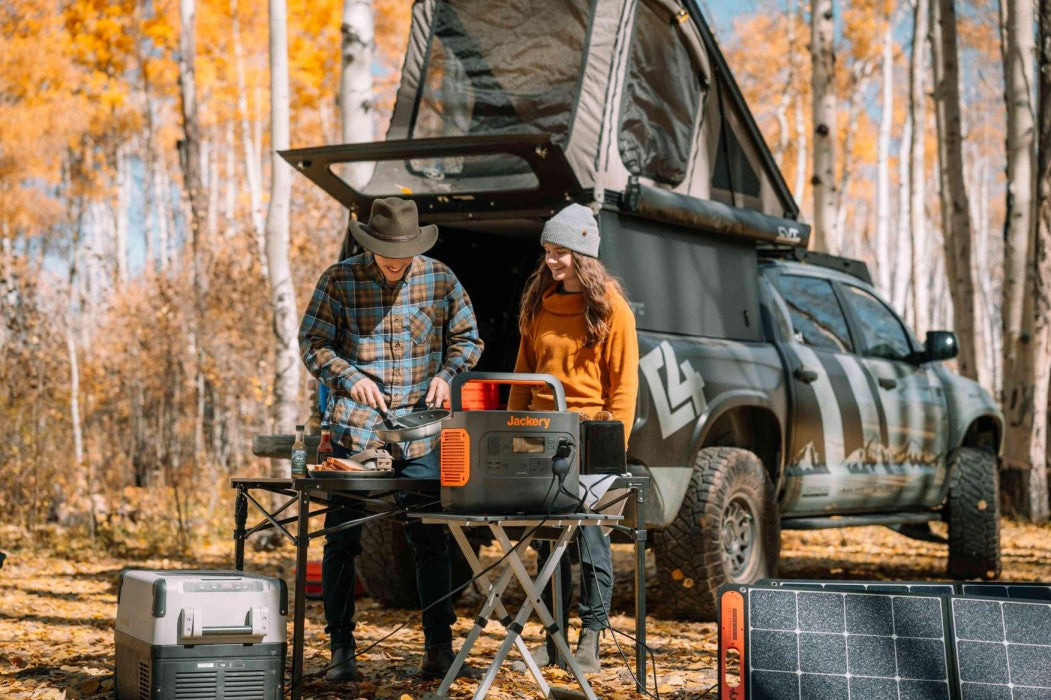
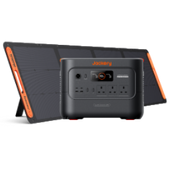
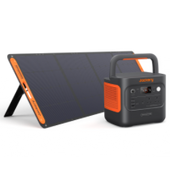
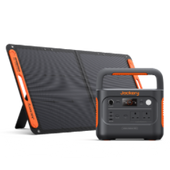
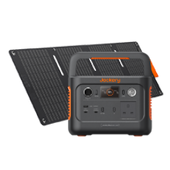
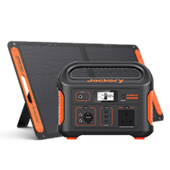
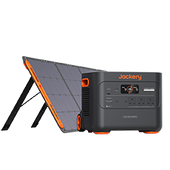
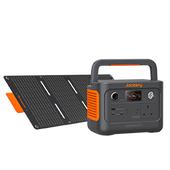
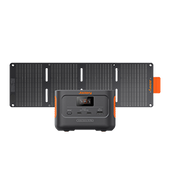
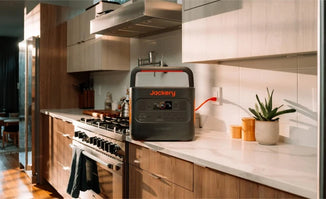
Jackery Solar Generator 1000 v2
The Jackery Solar Generator 1000 v2 is a fantastic choice for camping. It offers a compelling combination of power, portability, and eco-friendliness. It combines the Jackery Explorer 1000 v2 portable power station with a Jackery SolarSaga 100W or 200W solar panel.

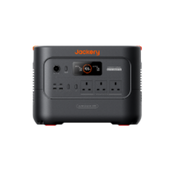
Jackery Explorer 1000 v2 Portable Power Station:
Powerful and Versatile: With a 1070Wh capacity, the Explorer 1000 v2 can power a wide range of camping essentials for extended periods. This includes lights, fans, smartphones, laptops, cameras, and small appliances like portable refrigerators, CPAP machines, and mini-cookers. Its 1500W continuous output (3000W peak) means it can handle the power demands of most standard camping gear without issue, including devices with a higher startup wattage.
Clean, Quiet, and Sustainable Power: Unlike noisy gasoline generators, the Explorer 1000 v2 operates silently, allowing you to enjoy the peaceful sounds of nature without disruption. You won't have to worry about harmful exhaust fumes, making it safe for use in and around your campsite.
Compact Design: The Explorer 1000 v2 is relatively compact and portable for its capacity, making it easier to transport and store in your car or RV. The fold-down handle also aids in space-saving and carrying. Setting up and using the solar generator is straightforward, with a simple plug-and-play design and a clear LCD screen that displays battery levels and power usage.
Advanced Features and Reliability: LiFePO4 battery provides enhanced safety, a longer lifespan (4000+ charge cycles to 70% capacity, roughly 10 years of use), and better thermal stability than traditional lithium-ion batteries. This next-generation safety system offers 62 forms of all-around protection, ensuring the safe operation of the power station and your connected devices.
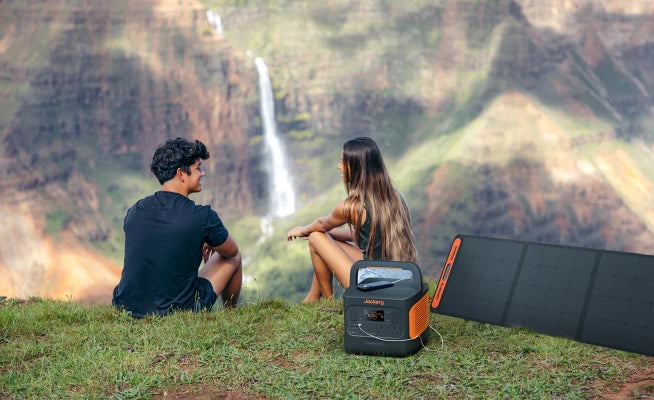
Jackery SolarSaga 100W or 200W Solar Panel:
Jackery SolarSaga 100W Solar Panel - transforms solar energy into renewable power via this monocrystalline solar panel. Boasting a solar conversion rate of 25%, it is ideally suited for outdoor activities and emergency power outages. The ETFE-laminated casing prolongs the solar panel's lifespan and has a total weight of merely 8 lbs. It is lightweight, foldable, IP68 waterproof-rated, and convenient for transport for off-grid excursions.
The Jackery SolarSaga 200W Solar Panel boasts a solar conversion efficiency of up to 25%, facilitating rapid adoption of eco-friendly energy solutions. The ETFE-laminated case prolongs its durability, while the suggested angle guarantees optimal sunlight absorption, rendering it an ideal power source for outdoor excursions and home backup. It is portable, collapsable, and can be immediately connected to a power station for an optimal solar power system.
|
Jackery Solar Generator 1000 v2 Running Time |
|
|
Electric Kettle (600W) |
6 Times |
|
Coffee Maker (550W) |
1.5H |
|
Ice Maker (500W) |
1.8H |
|
Projector (100W) |
8H |
|
Portable Cooler (60W) |
15H |
(*The working hours are only for reference; the actual working hours depend on your usage.)
FAQs about Campfires
The following are the frequently asked questions about the camping fires.
1. What is the simplest type of campfire to build?
The Log Cabin Fire is the easiest to build and start. It burns long and doesn't require much care to keep burning.
2. How do you make a campfire without a fire pit?
If you don't have a fire pit, try making one yourself. You need first to clear an area about 3 meters in diameter. Then, dig a shallow fire pit 0.61 meters wide and 15-30 cm deep in the region's centre. Clear the ground around the fire, such as hay, leaves, and branches. Then, surround the area with stones, avoiding porous or wet stones that may burst.
3. Where is the best place to build a campfire?
The best place to build a campfire is in a pre-prepared stone ring or fire pit. You need to clear the vegetation and fallen leaves around the campfire circle to prevent it from catching fire when the fire spreads.
4. How do you make a campfire for beginners?
Here are simple steps for beginners to make a campfire:
Choose an existing fire pit away from tents, trees, and bushes.
Prepare kindling, wood, lighters or matches, fire-proof gloves, water or sand, etc.
Build a campfire structure (Log Cabin, Star Fire, or Tepee).
Use a lighter to light the bottom of the kindling.
For the first attempt, you can simulate it in the backyard or safe open space and apply it to the wild once you are proficient.
Final Thoughts
A campfire can provide warmth and light, whether you want to grill sausages or marshmallows or enjoy the warmth. However, building a successful campfire requires patience, experience, quality materials, and knowledge.
For example, making a campfire requires essential materials such as tinder, fire starters and some dry, high-quality firewood. If there is a ready-made fire pit, making a campfire requires three steps: choosing a safe location, building the fire structure and lighting the campfire. Alternatively, you can also use a portable camping stove, a gas fire pit or an LED camping lamp instead of a campfire as needed.