


![[Gift for Order over £1300] Bluetooth Speaker with Phone Stand - Shipped from July](http://uk.jackery.com/cdn/shop/files/Portable_Bluetooth_Speaker_with_Phone_Stand_2.png?v=1781595581&width=170)


Knowing how to attach a fishhook properly is one of the most fundamental skills in fishing. From canal-side coarse sessions to beachcasting for marine species, UK anglers depend on strong knots and smart rigging to land fish effectively and safely.
This comprehensive guide covers everything, from selecting the correct gear and understanding hook anatomy to tying the best knots for monofilament, fluorocarbon, and braided lines. You'll also learn how to avoid making frequent mistakes, stay safe, and change your hook-tying skills to fit different types of fishing, such as coarse, carp, and sea fishing. You'll feel more confident and catch fish better, regardless of your skill level.
|
Key Takeaways: |
|
● To prevent damage to your fishing line, wet your knot before tightening to avoid heat and friction. ● To endure large tides and vigorous bites, multi-hook sea rigs like the flapper and wishbone require strong, compact knots, such as the Snell and Dropper Loop. ● Hook-tying aids, such as the Hook-Eze, can increase knot accuracy and safety, particularly for beginners or those tying in cold, wet UK conditions. ● Regular knot inspection and practice at home can minimise hook loss, equipment failure, and missed fishing opportunities. ● We highly recommend the Jackery Explorer 100 Plus or 300 Plus portable power station for powering electric fishing devices and personal electronics outdoors. |
Basic Terms You Must Know for Fish Hook Tying
Before you tie a hook to your line, you need to know how a fishing hook works. The eye, shank, bend, point, and barb are all elements of the hook. Each part is essential for how the bait is presented and how well the hook is set.
When fishermen know precisely how each part works, they can choose the correct hook for the type of fish they're trying to catch and the weather circumstances. Even the strongest knot might come undone if the hook is the improper size or design.
What Is the Hook Eye?
The eye is the part of the hook at the top where the line goes through. There are three varieties of hook eyes: ringed, looped and spade-end. Each works well with a different sort of line and knot.
What Does the Shank Do?
The shank is the straight part of the hook that goes from the eye to the bend. The length of the shank affects how the bait is presented and how easily it can be removed from the hook. A long shank is suitable for new fishermen or those who use live bait, as it makes it easier to unhook the fish and reduces the likelihood that the fish may swallow the hook. A short shank, on the other hand, is less noticeable and works well for smaller fish or setups that require more finesse.
Why the Hook Gap Is Crucial?
The gap, or gape, is the space between the shank and the hook tip. This measurement tells you how easy it is for the hook to get inside the fish's mouth. A wider spacing makes it easier to hook bigger fish or heavier baits, while a narrower gap is better for smaller fish and lighter rigs.
What Is the Sharp Hook Point?
The point is the pointy part of the hook that goes into the fish's mouth. Needle, spear, and rolled-in points are all distinct types of points that work well with different fishing methods.
Choosing the Right Knot and Hook for Safe and Ethical Fishing
Choosing the perfect fishing knot and hook type is just as important as knowing how to attach a fishhook correctly. Utilising the ideal knot keeps your hook in place when you apply pressure, and using the right hook design prevents the fish from getting hurt, especially in catch-and-release situations.

What Is the Strongest Fishing Knot?
The strength of a knot will determine whether your line stays strong throughout a struggle or breaks at a critical moment. Some of the best knots for tying a hook are:
Palomar Knot
Many people believe that the Palomar Knot is one of the most durable and simple fishing knots. It works best with braided line and retains a significant portion of the line's strength. The knot goes through the hook eye twice, wraps around the hook, and tightens in a way that prevents it from slipping, even when subjected to considerable pressure. It is known for keeping almost all of the line's initial strength.
Improved Clinch Knot
The Improved Clinch Knot is one of the most common knots used by fishermen and is a must-know for novices. When knotted correctly, it holds well and performs well with monofilament lines. Although it's not as powerful as the Palomar, it's easy to use, making it ideal for rapid setups and everyday fishing.
Uni Knot
The Uni Knot is renowned for its versatility, operating effectively with a wide range of lines, and is easy to tie even in poor lighting conditions or when your hands are cold. People like it since it can be used to tie hooks, attach swivels, lures, and even connect lines.
What Hook Type Is Safest for the Fish?
The purpose is to catch fish, but ethical fishing practices are becoming increasingly important, especially in the UK's canals and rivers. Using the correct hook can make a significant difference in reducing harm to fish during catch-and-release.
Barbless Hooks
People think barbless hooks are safer for fish because they are easier to remove and cause less harm. Many fisheries in the UK now recommend or require them. Barbless hooks can still work quite well if the fisherman keeps the line taut, even if they don't have the usual backwards-facing barb.
Circle Hooks
These hooks are designed to catch fish in the corner of their mouths, which reduces the likelihood of deep hooking and potential damage to internal organs. They are ideal for passive bait fishing because their curved design makes them easy to set without a forceful hookset.
What You Will Need: Basic Gear for Attaching a Fish Hook
It's necessary to get the right tools before you even start learning how to attach a fishhook. Having the appropriate gear makes tying easier, reduces irritation on the bank, and makes fishing safer and more efficient, especially for beginners. Here's everything you need in your fishing bag to confidently hook your fish, whether you're fishing on a British canal for the first time or getting ready for a vacation to the coast.

Fishing Line – Know Your Material
The line is what holds everything together. Monofilament line is elastic and easy to tie; therefore, most UK fishermen start with it. It's great for learning the basics and how to tie strong knots, such as the Improved Clinch. It also gives you some leeway with tension, which makes it simpler to catch fish without breaking the hook.
Braided line is strong and sensitive, whereas fluorocarbon line is almost invisible underwater. A more experienced fisherman might utilise these types of lines. Remember that braided lines require more complicated knots because their smoothness can cause simple ties to slip.
Hooks – Size and Style Matter
There are many different types and sizes of fishing hooks, each designed for a specific kind of fishing or species. Choose hooks with an eyelet and a long shank if you're just starting. They're easier to hold, thread, and take off.
Barbless hooks are the finest kind to use, especially in UK waters where many fisheries need them. These hooks are easy to remove and cause less damage to the fish, making them ideal for catch-and-release fishing.
Scissors or Line Cutters
Don't forget to bring a good pair of scissors or line cutters. Cutting the tag end of the line cleanly after you tie your knot avoids it from becoming tangled and makes it seem professional. Too many lines can entangle weeds or trash, or even worse, it can untie your knot.
Swivels and Snaps (Optional)
Swivels aren't necessary, but they can help keep the line from twisting and speed up the process of changing hooks or setups. Some beginners prefer to use a snap swivel to attach pre-tied hooks, eliminating the need to tie knots altogether. But tying a knot directly on the hook is usually safer and is a valuable skill to have.
Optional: Hook-Ease Tools for Beginners
A hook-tying gadget can make the job a lot easier if you're new to fishing or have trouble with your hands. These tools keep the hook in place as you tie and secure the knot. They are invaluable for people with weak hands or those who fish in cold water.
Keep Safety in Mind
A tiny first-aid kit, needle-nose pliers, and a towel or hand wipes are also helpful. Hooks are sharp, and when you pull on the line, they might cut your fingertips. Basic safety prep can help keep you from getting hurt, especially when you're learning how to use new tools.
You don't need an expensive kit to learn how to connect a fishhook; all you need are some good tools, the correct kind of hook and line, and some patience.
The Safest Way to Attach a Hook Without Injuring Yourself
Attaching a fishhook isn't just about establishing a solid knot—it's about doing it safely. Every fisherman, from those who fish on the weekends to those who have been doing it for years, has either almost pricked their finger or gotten caught by a loose hook.
Here's how to attach a fish hook the safe way, utilising procedures trusted by professionals and advocated across the angling community.

Step 1: Set Up in a Clean, Bright, and Stable Area
The first step in being safe is to prepare your rig. Always tie your hooks in a well-lit area, especially on a level and stable surface. This lowers the chance of making mistakes because you can't see well or things aren't stable, which is especially important when you're working with small hooks or fine lines.
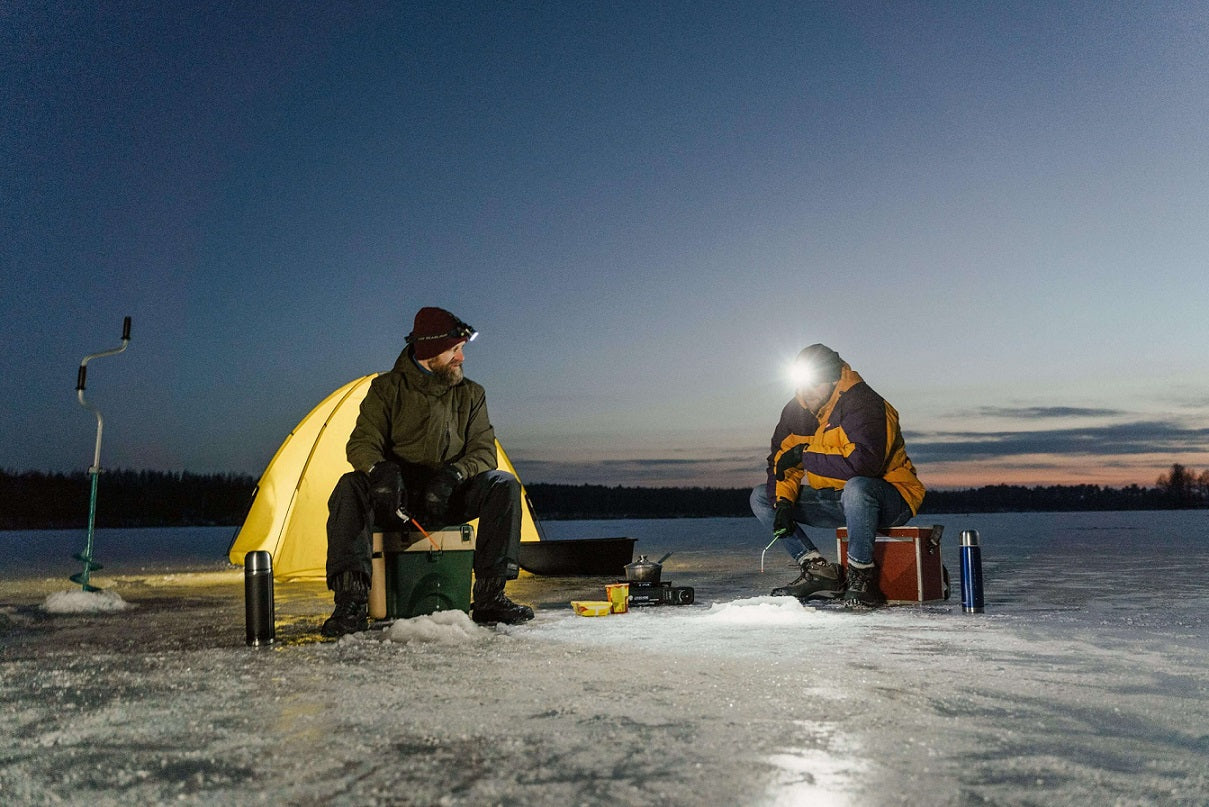
Headlamps, LED clip lights, or even a camping lantern can make a significant difference while prepping tackle before morning or during a night fishing excursion. A solid workspace offers you control over your tools and tackle, and makes it much easier to knot accurately without damage.
Step 2: Use Pliers or Hook Tools Instead of Bare Hands
Instead of holding the hook with your hands, use needle-nose pliers or a hook holder. Use needle-nose pliers or a hook holder to keep the hook steady and protect your fingers. These items help you be more accurate and lower the chance that the hook will slip and hit your hand. For individuals new to the game or those with weak hands, this can make a significant difference.
Many anglers also employ hook-tying gadgets, such as the Hook-Eze, which encapsulate the hook entirely during knot tying and steady the hook throughout the operation. These tools keep the hook steady while you tie the knot and wrap it up. Especially helpful for individuals with weak hands or those who fish in cold weather.
Step 3: Watch Your Fingers While Tightening
When the knot is ready to tighten and the line is threaded, keep your fingers away from the hook point. Keep your fingertips away from the hook's sharp edge when tightening your line to tie a knot. A lot of injuries happen at this point, especially when fishermen hurry to pull the line without looking at where their fingers are.
Instead, draw the line gently and evenly. To gain a firmer grip and protect your skin, consider wearing a towel or glove if necessary. Before you pull the knot tight, it's also a good idea to dampen it. This makes the line tighten more evenly and minimises the chance that it may break or snap back quickly.
Step 4: Use Gloves or a Towel for Cold Conditions
When you go fishing in the UK, you often have to deal with cold mornings and wet gear. When your hands are cold, you can't move as well, which makes it easier to slip and fall. Wearing lightweight gloves with a grip designed explicitly for fishing makes you safer.
If you don't have gloves, a damp towel or cloth can help you grasp the hook more tightly when drawing or threading the knot. These are great for people learning how to tie knots in the winter or for fishermen with arthritis or limited hand mobility. Using tools to help you tie knots can help you stay in control and lower the risk of damage.
Step 5: Use a Hook-Tying Tool to Reduce Risk
People new to fishing, children, or those with physical restrictions should use hook-tying tools. The Hook-Eze gadget completely covers the hook point while you tie it, making the job much safer. These tools keep the hook still while you tie the knot and secure it in place. They are invaluable for people with weak hands or who fish in cold weather.
Many of them also include built-in cutters and eyelet threaders, which makes them quite helpful when using small tackle or when the weather is bad. These tools can help you avoid injuries that could have been avoided, speed up rigging, and make things less frustrating.
Step 6: Keep Hooks Organised and Secure in Storage
Even a nicely knotted hook becomes a problem if it's left loose. Hooks should always be kept safe in a tackle box with separate compartments or foam cushioning. Keep your hooks sharp and avoid accidentally touching them.
To fish well, you need sharp hooks, but if you don't handle them carefully or store them properly, they can hurt you. Always put hooks back in their compartment after using them. Never leave them on the lid of a seatbox or loose in a backpack. Keep a tiny sharpening stone on hand for touch-ups.
Step 7: Carry a Compact First-Aid Kit Just in Case
Accidents can still occur, even when you take all the necessary precautions. That's why you need a first-aid kit. Put antiseptic wipes, adhesive bandages, tiny scissors, and tweezers in a waterproof bag in your tackle box. This ensures that you can treat minor wounds and scratches immediately, thereby reducing the risk of infection. It's a small thing that might make a significant impact, especially when you're fishing in isolated areas or for lengthy periods.
How to Attach a Hook to Monofilament, Fluorocarbon, or Braid?
Not all fishing lines are made equal, and neither are the knots that secure your hook to them. To create safe, trustworthy, and effective hook connections, it is essential to understand the differences between monofilament, fluorocarbon, and braided lines. Different types of lines behave differently when under stress, and using the improper knot can cause slippage, poor connections, or even lost fish.

Monofilament: Simple to Tie, Doesn't Break Under Pressure
Monofilament is one of the most widely used types of fishing line in the UK. It's affordable, elastic, and not too tricky to use, making it ideal for novices and casual anglers. Its forgiving nature allows for a larger range of knots without too much chance of slippage. The best knots for monofilament are typically those that hold the line tightly without cutting into it.
The Improved Clinch Knot is one of the most used knots for monofilament. It works well with monofilament lines, and when tied correctly, it holds everything together well. This knot is highly favoured in coarse fishing setups because of its balance between simplicity and security.
The Palomar Knot is another excellent option. It's strong, small, and easy to tie even when your hands are cold or damp. Many people think that the Palomar Knot is one of the strongest and easiest fishing knots. It is generally lauded for use with braid, but it works just as well with mono when it is tied correctly and dampened before being tightened.
Fluorocarbon: Nearly Invisible, yet Sensitive to Friction
Fluorocarbon is a popular choice for UK anglers who fish in clear or pressured waters, such as chalk streams, gravel pits, or canals, when visibility is reduced. The line's most significant advantage is its low visibility underwater; however, it's also more prone to friction-related breakage, so knot choice counts even more in this case.
The Improved Clinch Knot is a frequent starting point; however, fluorocarbon often works better with knots that don't pull the line as tightly. The Palomar Knot remains a top choice because it retains a significant portion of the line's strength and distributes the stress evenly, preventing fluorocarbon from breaking at the knot.
Many professional fishermen also say that you should lubricate the line before tightening any knot on fluorocarbon. This is because fluorocarbon is rigid and can become very hot when cinched. Moistened knots lessen internal friction, helping preserve the line's structure.
You can use a Non-Slip Loop Knot when you require a loop, as when you're using lures or live bait. Just be careful not to pull too hard or too fast; otherwise, the knot will get weaker on fluorocarbon. If you want to catch shy fish like chub or perch in clear water, it's more likely that you'll get bites if your bait moves better.
Braid: Strong, Thin, and Slippery—So Use the Right Knots
Anglers who require more sensitivity and less stretch, such as when spinning for pike or casting great distances on the beach, have started using braided fishing lines. Braid, on the other hand, is far more slippery than mono or fluoro, which means that many common knots won't work.
The Palomar Knot is the strongest and best knot for braids. It keeps a lot of line strength, and because it's basic, it's easy to tie, even when your hands are cold or damp. Due to this, UK fishermen commonly use it for tying knots that work effectively in adverse weather conditions.
Suppose you're attaching a braid to a fluorocarbon or monofilament leader. In that case, you might want to use a Double Uni Knot or FG Knot to make sure the lines stay together. These knots form a streamlined, abrasion-resistant connection that goes smoothly through rod guides—an essential for spinning or casting rigs.
Common Mistakes to Avoid When Attaching a Fishing Hook
If you avoid the most common mistakes while tying fish hooks, you'll be able to fish with greater confidence and be less frustrated when your equipment doesn't work. Here are the primary mistakes to look out for—and how to prevent them.

Mistake 1: Forgetting to Moisten the Knot Before Tightening
One of the most common mistakes that fishermen make is forgetting to moisten the line before tightening the knot. This is true for all types of lines, including mono, fluorocarbon, and braid. Dry knots produce friction and heat, which can damage or break your fishing line. Moistening the knot makes it easier to tighten without cutting into the rope.
If you don't grease the knot, you could make tiny burns in the line that weaken it. Before drawing the knot tight, simply moisten the line with clean water or saliva. This process just takes a few seconds, but it makes knots much more reliable, especially high-friction knots like the Uni and Improved Clinch.
Mistake 2: Using the Wrong Knot for Your Line Type
Not all knots work the same way on all types of fishing line, as each type has its own unique set of qualities. Braided lines are thinner and more slippery than monofilament, which means they require knots that hold tightly and won't slip. A knot that works perfectly with mono might not work at all with braid or fluorocarbon.
The Palomar Knot is one of the strongest and easiest fishing knots, especially when you use braided line. The Improved Clinch Knot, on the other hand, works well with monofilament lines but can slip when used with braid. Many new fishers fail to do this, but it's also crucial to match your knot to the type of line you're using to make it strong and safe.
Mistake 3: Trimming the Tag End Too Short
You can want to cut the tag end flush after tying the knot to make it seem nice. However, this often causes the knot to come undone when it is under pressure. Many beginners cut the tag end too short, which can cause the knot to come undone under stress. This is especially problematic for smooth lines, such as braids, which require a longer tag to prevent the wraps from slipping.
The standard rule is to leave 3–5mm of tag end after trimming. This small space adds safety and can prevent a fish from escaping during a struggle. This is a minor feature that is easy to miss but makes a significant difference in how well the knot works.
Mistake 4: Wrapping the Line Unevenly
When you tie a knot, an uneven wrap can put strain on the line, which makes the knot more likely to fail. When you tie a knot, if the wraps aren't even or overlap, they can make weak points where the rope might break. Ensure your wraps are even and straight when tying a Uni, Improved Clinch, or Loop Knot.
This is especially important when using thicker mono or stronger fluorocarbon, because tight coils that touch one another might rub against each other and break the knot. Take your time to place the wraps evenly around the standing line so that no turns cross or overlap.
Mistake 5: Pulling the Knot Too Quickly
At the bank, speed can seem like a good thing, but when it comes to tightening knots, you need to be patient. If you pull the knot too quickly or with too much force, it might damage the fishing line. When you tighten the line soon, especially with fluorocarbon, it can become hot and cause friction, which can weaken the knot at its core.
Instead, gradually pull the knot tight while keeping even pressure. Move slowly and carefully, which helps the wraps fit snugly and lowers the chance that the knot may cinch unevenly or cut into itself.
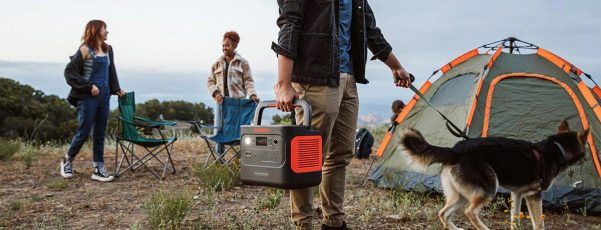
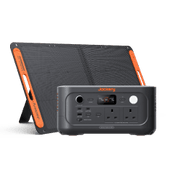
Jackery Portable Power Stations for Fishing
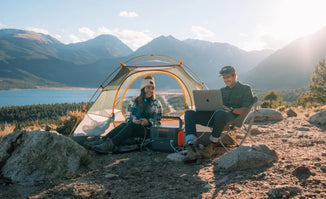
A Jackery Portable Power Station may be a great addition to your fishing vacations in the UK. It offers numerous features that can enhance your trip, especially if you're travelling to more remote areas or staying overnight. Many new fish finders and GPS devices require a significant amount of electricity. A Jackery keeps this critical equipment charged and working, which helps you find fish and
get around easily.
Bite alarms are essential for carp fishing and other static approaches. A Jackery can power multiple alarms for an extended period, even overnight. Electric reels may alter the game for sea fishing or going for bigger fish, and a Jackery gives you the power you need. We recommend the Jackery Explorer 100 Plus and 300 Plus here.
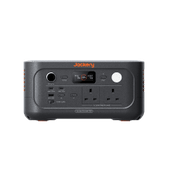
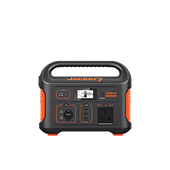
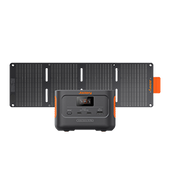
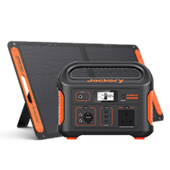
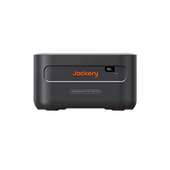
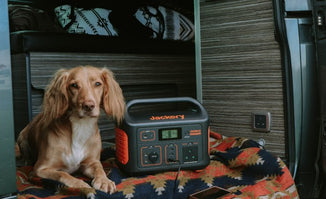
Jackery Explorer 100 Plus
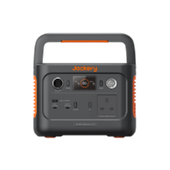
The Jackery Explorer 100 Plus can be an efficient and convenient choice for fishing in the UK, particularly for day trips or shorter overnight sessions where portability and charging smaller, essential electronics are key.
Lightweight and Compact: Weighing just over 2.13 lbs (around 965g) and being palm-sized, it's incredibly easy to carry in a fishing bag, backpack, or even a larger jacket pocket. This is ideal when you're walking to a fishing spot, navigating uneven terrain, or want to keep your gear to a minimum.
Doesn't Take up Much Space: Fishing gear can be bulky (rods, tackle box, chair, bivvy, etc.). The 100 Plus adds negligible weight and volume.
LiFePO4 Battery (Durability & Safety): With 2,000+ charge cycles, this power bank will withstand years of regular use, which is great for a hobby you'll engage in frequently. The inherent stability of LiFePO4 chemistry is a plus when you're outdoors and potentially in varying temperatures.
Aviation Approved (99Wh capacity): With a 99.2Wh capacity, it falls under the maximum allowance for carry-on luggage on flights (generally 100Wh). This means you can even take it with you on an overseas fishing trip, offering peace of mind.

(*The working hours are only for reference; the actual working hours depend on your usage.)
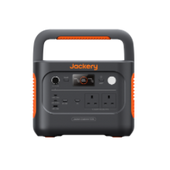
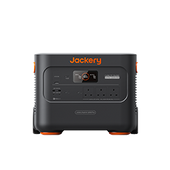
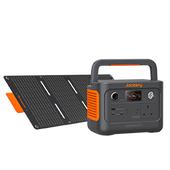
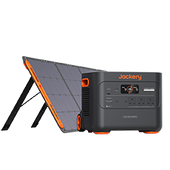
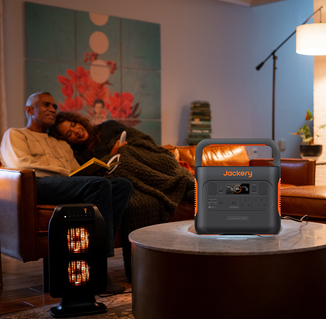
Jackery Explorer 300 Plus
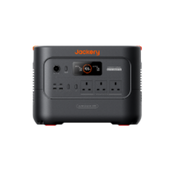
The Jackery Explorer 300 Plus is a compelling choice for fishing trips in the UK, especially for anglers who prioritise portability, quiet operation, and reliable power for their essential gear.
Highly Portable: Weighing approximately 8.27 lbs (3.75 kg), the Explorer 300 Plus is exceptionally light and compact. This is a significant advantage for UK fishing, where you may need to walk a considerable distance to your spot, navigate uneven terrain, or simply want to keep your gear load to a minimum. It can easily fit into a fishing rucksack or sit unobtrusively in a bivvy.
288Wh Capacity / 300W Output: Although not a powerhouse for high-demand appliances, the 288Wh capacity and 300W continuous output (with a 600W surge peak) are ideally suited for most common fishing electronics, such as electric fish finders, bite alarms, and phones.
Multiple Ports: It typically features a UK AC outlet, USB-A, and two powerful 100W USB-C ports, allowing you to charge various devices simultaneously and efficiently, including modern laptops.
Extended Lifespan: The "Plus" in the 300 Plus signifies its upgrade to LiFePO4 (Lithium Iron Phosphate) battery chemistry. This offers significantly more charge cycles (e.g., 3,000 cycles to 80% capacity), meaning the 300 Plus will last you for many fishing seasons.
Silent Operation: A key advantage over noisy petrol generators. Your fishing experience will remain peaceful, and you won't disturb wildlife or other anglers.

(*The working hours are only for reference; the actual working hours depend on your usage.)
FAQs
The following are the frequently asked questions about attaching a fishhook:
1. How to tie a fisherman's knot for beginners?
Begin by overlapping the two line ends, side by side. Make a simple overhand knot in one line and around the other, then repeat with the second line. Moisten and tug both standing ends to tighten the knots until they fit snugly against each other. Finally, trim the tag ends a few millimetres away from the knots. This symmetric double-overhand approach yields a secure fisherman's knot, ideal for linking two similar lines.
2. How to do up a fishhook clasp?
Thread the line through the hook's eye and double it back to form a little loop. Wrap the tag end around the standing line four to five times, then pass it back through the loop and wet before securing it securely. Pull both ends snugly until the knot is flush against the eye, then clip the excess. This clinch-style knot is both strong and simple for novices.
3. How do you rig a fishing line for beginners?
A basic running ledger (weight-on-line) setup is ideal for beginners. First, put a weight (such as an egg or pyramid) onto your mainline, attach a bead, and secure a swivel. Put a short leader (hook length) below the swivel and tie your hook to it. This configuration allows the weight to move around, making it easier to detect when a fish is biting and facilitating easier bait consumption.
Final Thoughts
Tying a fishing hook firmly isn't just a technical procedure; it's what connects your gear to a successful catch. UK fishermen can fish more effectively and ethically by learning how to tie trustworthy knots, such as the Palomar, Uni, and Improved Clinch, matching them to the proper line type, and avoiding frequent rigging mistakes. If you have the correct tools, get ready, and practise a little, you'll spend less time tying knots and more time catching fish.